Recently, at one of our larger Premier customers, we designed and implemented (initially in a lab environment) a Certification Authority, mostly for SMIME usage. During initial discussions, we considered virtual smart cards (VSCs) for his Windows 8 computers. The experience was interesting enough to guarantee at least two blog posts 🙂
In this first part, we are going to describe the prerequisites and prepare everything for a successful virtual smart card rollout.
Starting from the clients – TPM chips
We are not going to get into details about TPM architecture, as there is abundant information in the internet. We will just mention the details which are important for VSC implementations.
First off, we have to make sure that the computers which are going to be part of the implementation actually contain a TPM chip. I was not planning to mention that at all – however, I found out that there are computer (and/or motherboard) manufacturers who claim to support TPM instead of supplying TPM chips within the systems. This is especially true in desktop computers, some of which might have a TPM slot, but no TPM module inside. So, you have to make sure that your systems do actually contain the module before rolling out the VSCs.
After that, make sure to enable TPM support in the BIOS’ settings. This is the most common mistake, as many people fail to understand that even if a computer has a TPM chip, most probably it is not enabled by default in the BIOS. Finally, after initializing TPM on Windows (http://technet.microsoft.com/en-us/library/cc753140.aspx), we are ready to set up our Certification Authority (CA).
Back to the CA – Virtual Smart Card Certificate template
We are not going to describe how to setup a CA, since it is out of the scope of this blog post. However, it is essential that we get into details about how to properly create the needed certificate template for VSC issuance.
Since VSCs are not that much different from a regular smart card (at least from a CA perspective), the steps that we have to perform in order to configure the VSC template are pretty much the same as the ones for a real, hardware smart card deployment. The certificate template that has to be duplicated is, as expected, the Smartcard Logon one and the fields that have to change are in the following tabs:
a) In the General tab, we just have to label the duplicated template
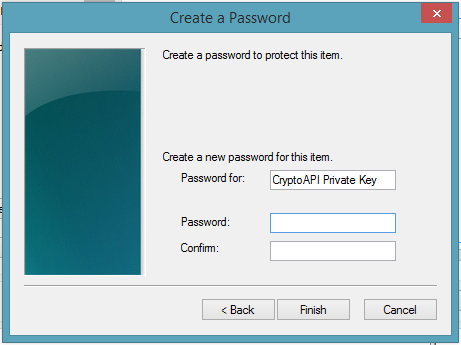
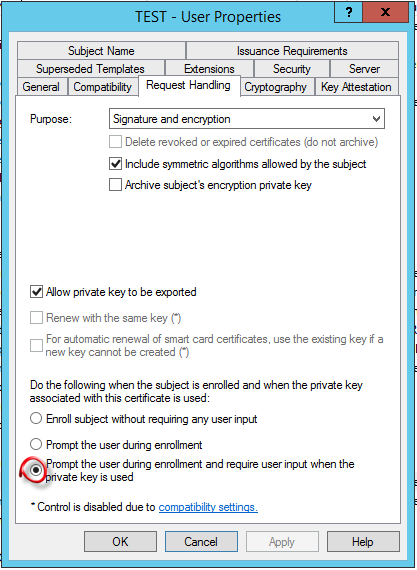
b) In the Request Handling tab we have to change the Purpose to Signature and smartcard logon. If not already selected, we should select Prompt the user during enrollment. Finally, we should click Requests must use one of the following providers and select Microsoft Base Smart Card Crypto Provider.
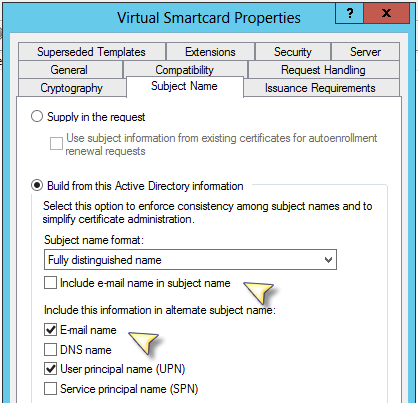
d) Since we are going to use the resulting virtual smart(s) for S/MIME operations, we should also make sure that the fields in the Subject Name tab include e-mail name in subject name and E-mail name are also checked.

- Virtual smart card settings for SMIME
Now we are ready to delve into the wonderful world of virtual smart card deployment. In the next blog post, we are going to visit the client once again, prepare it for VSC issuance, issue the VSC and configure it for Outlook/Exchange S/MIME operations.